It is very important to apply grease properly when replacing fuser film sleeves. Improper installation will result in no-turning or damage of the film. We have outlined step-by-step instructions below on how to replace fuser film sleeves. In addition, use the the links below to checkout our offerings in OEM and aftermarket fuser film sleeves for HP, Lexmark, Brother, Canon, and Xerox printers and Canon, Ricoh copiers. We offer high quality fuser film sleeves directly from our own manufacturer at very competitive prices. Wholesale price is up to 50% off.
Compatible models
Detailed Step by Step Instruction
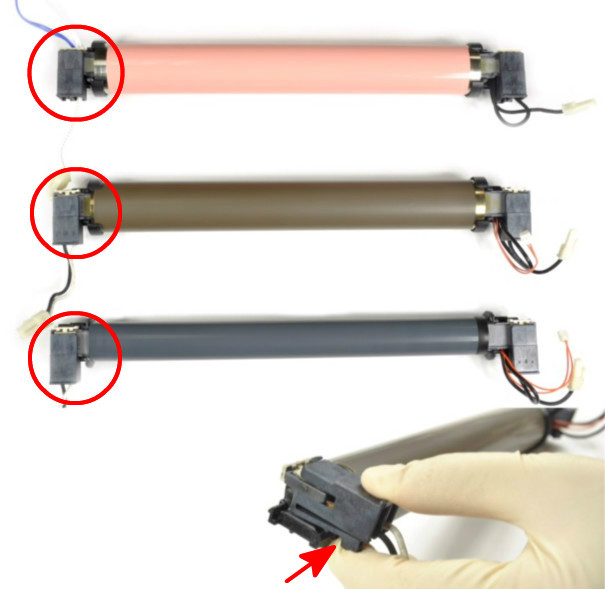
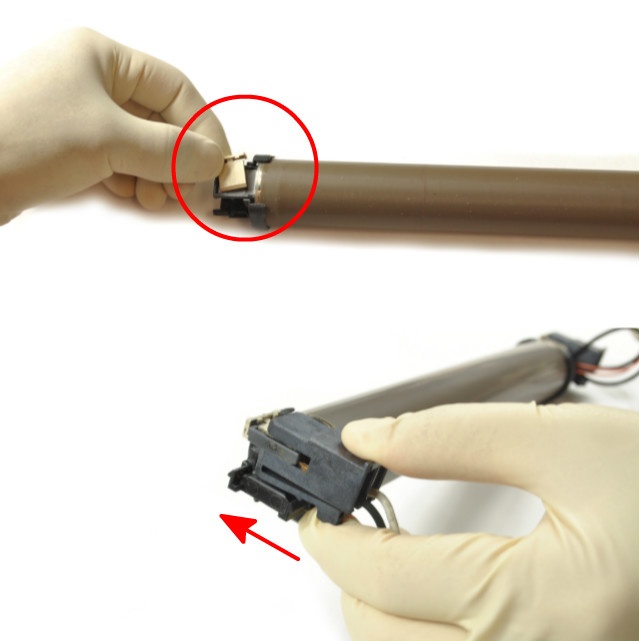
Remove the clamp from the side as shown on the picture by pinching the clip on the side and pulling out. This illustration is based on HP 4200/4250/4300/4345/4350/P4014/M600 models. Other fuser film assemblies may have slightly different structure. Please follow these general steps and adjust when necessary for other models.
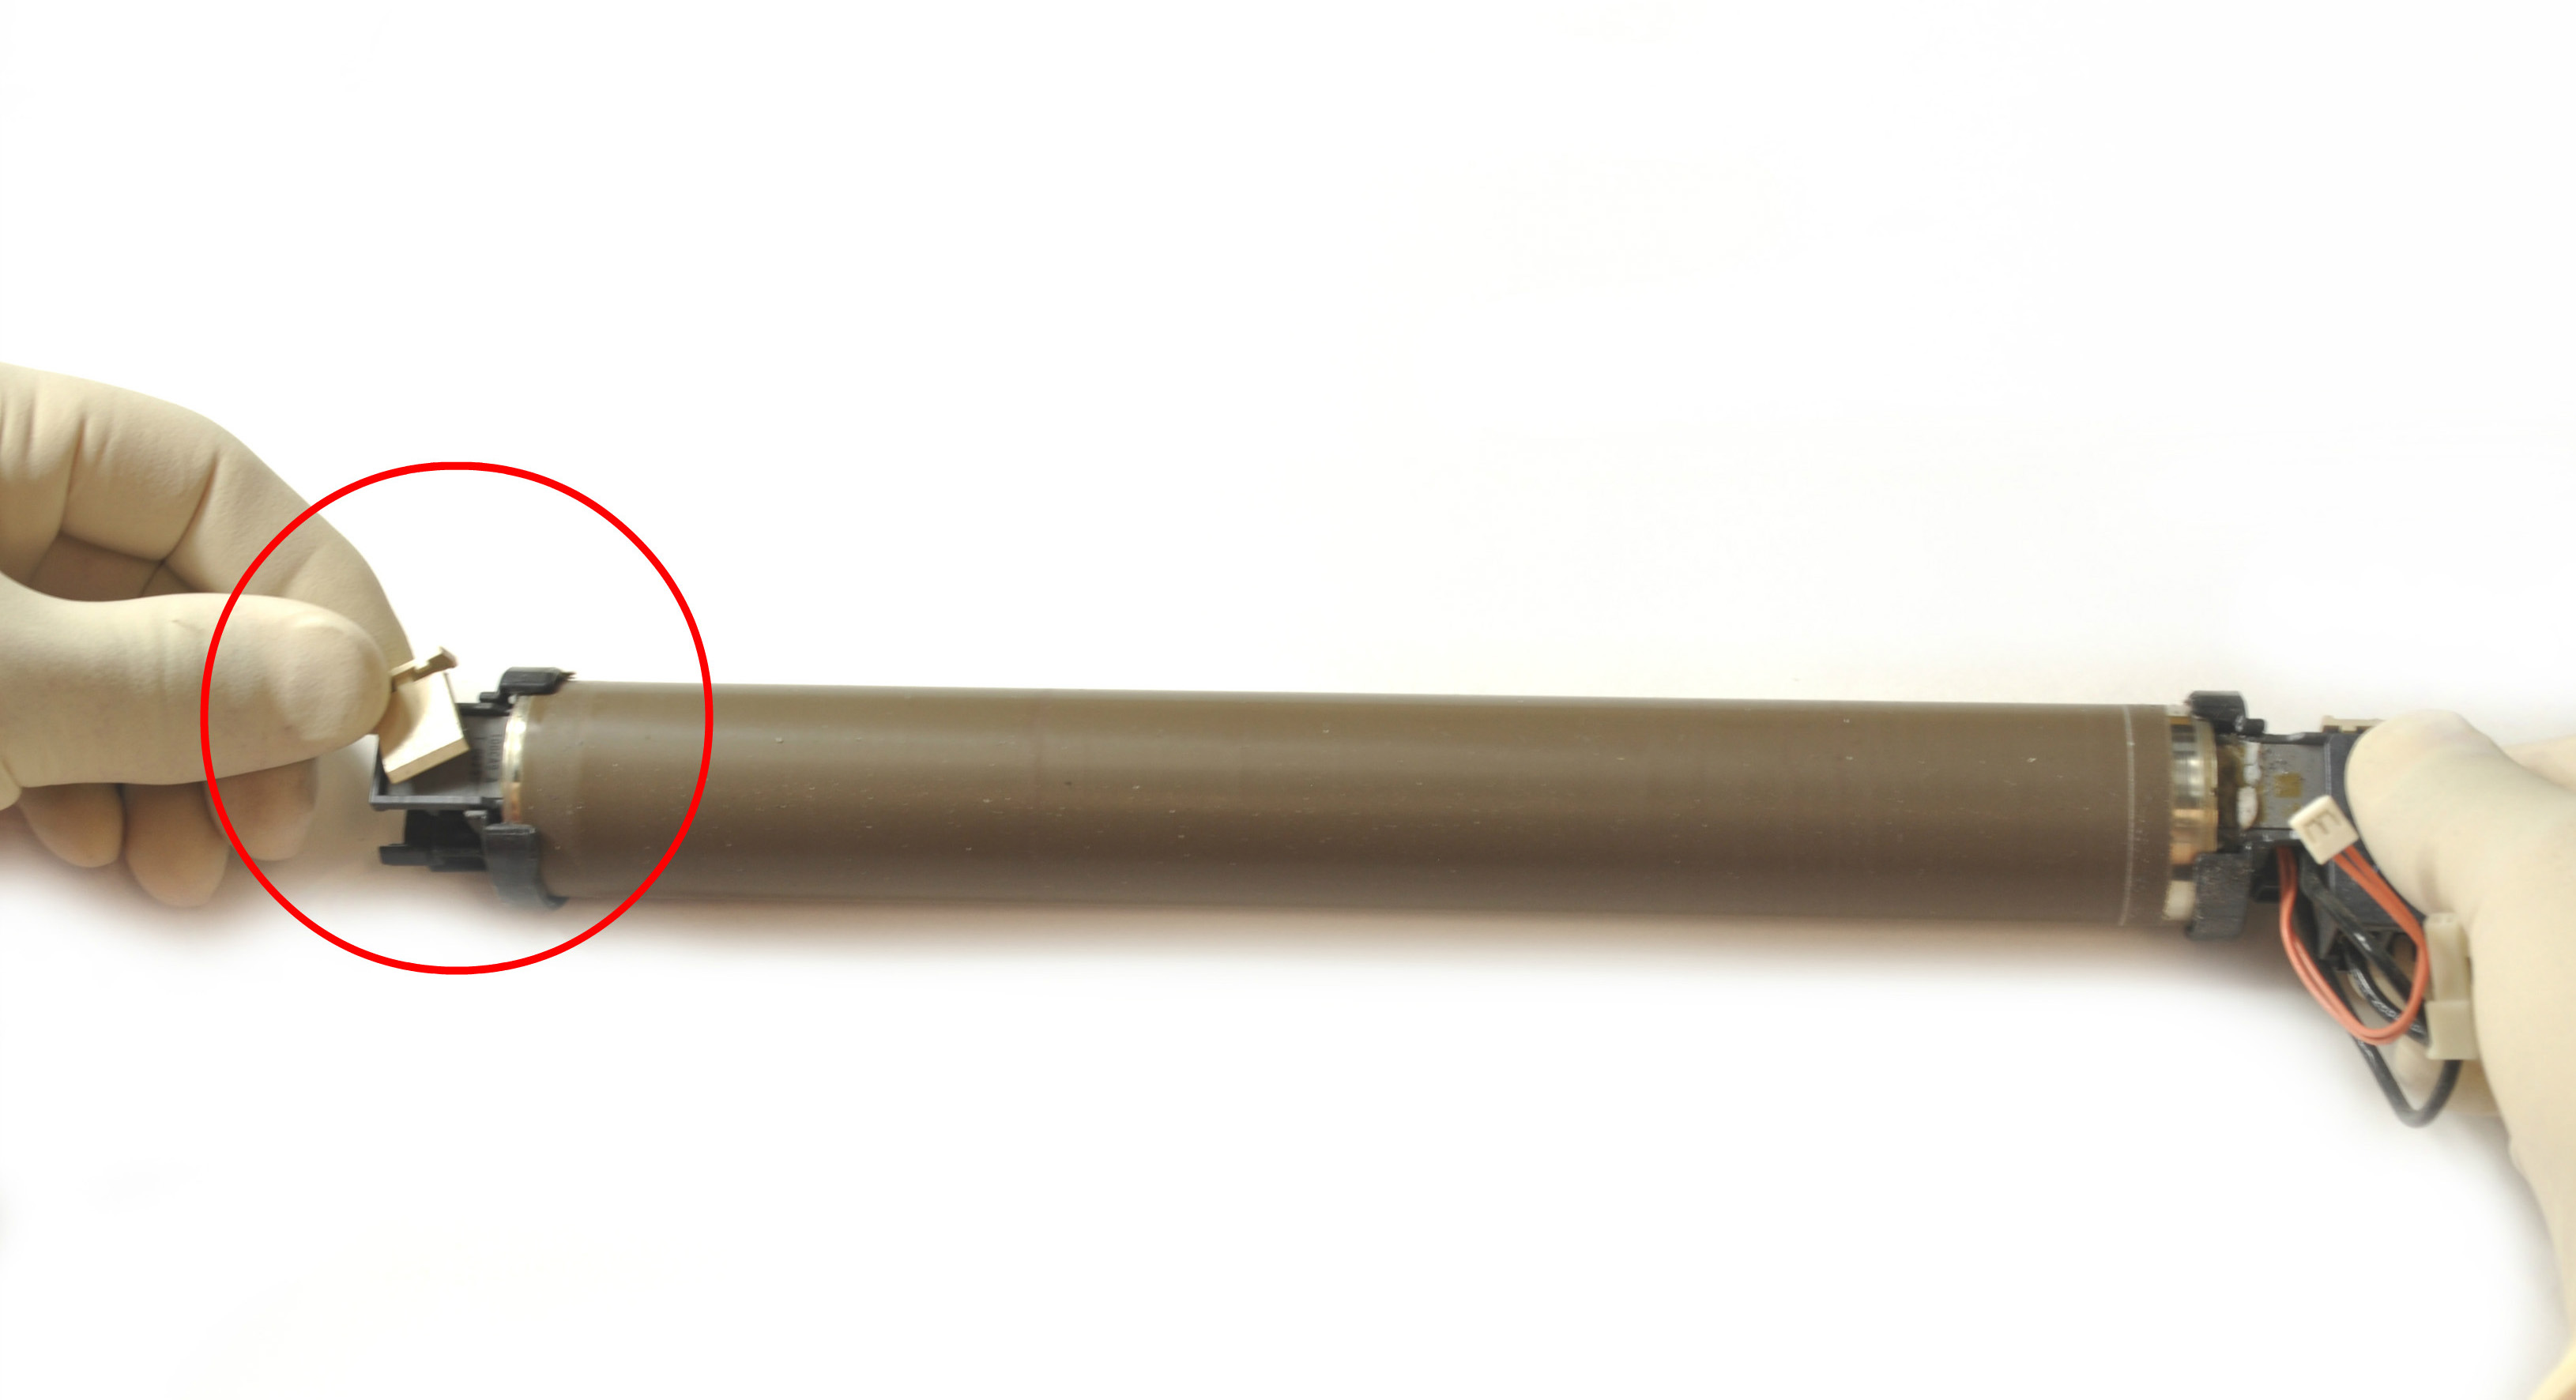
Remove the plastic clip that is holding the flange by lifting the tab from underneath.
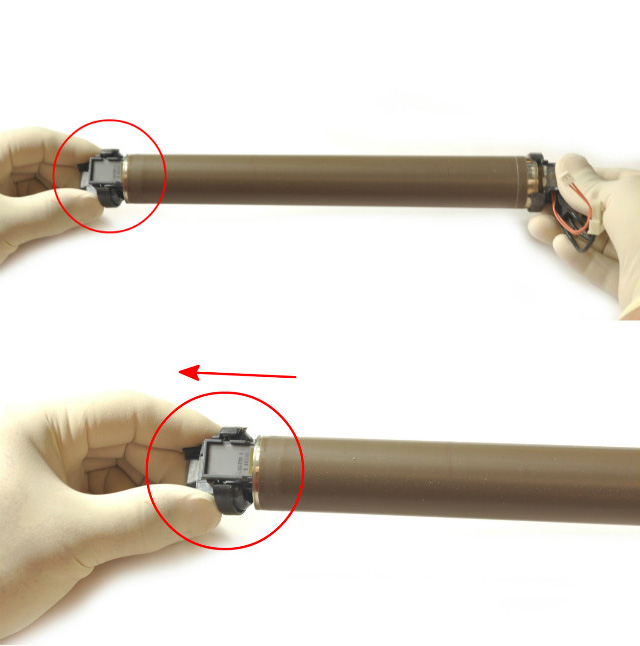
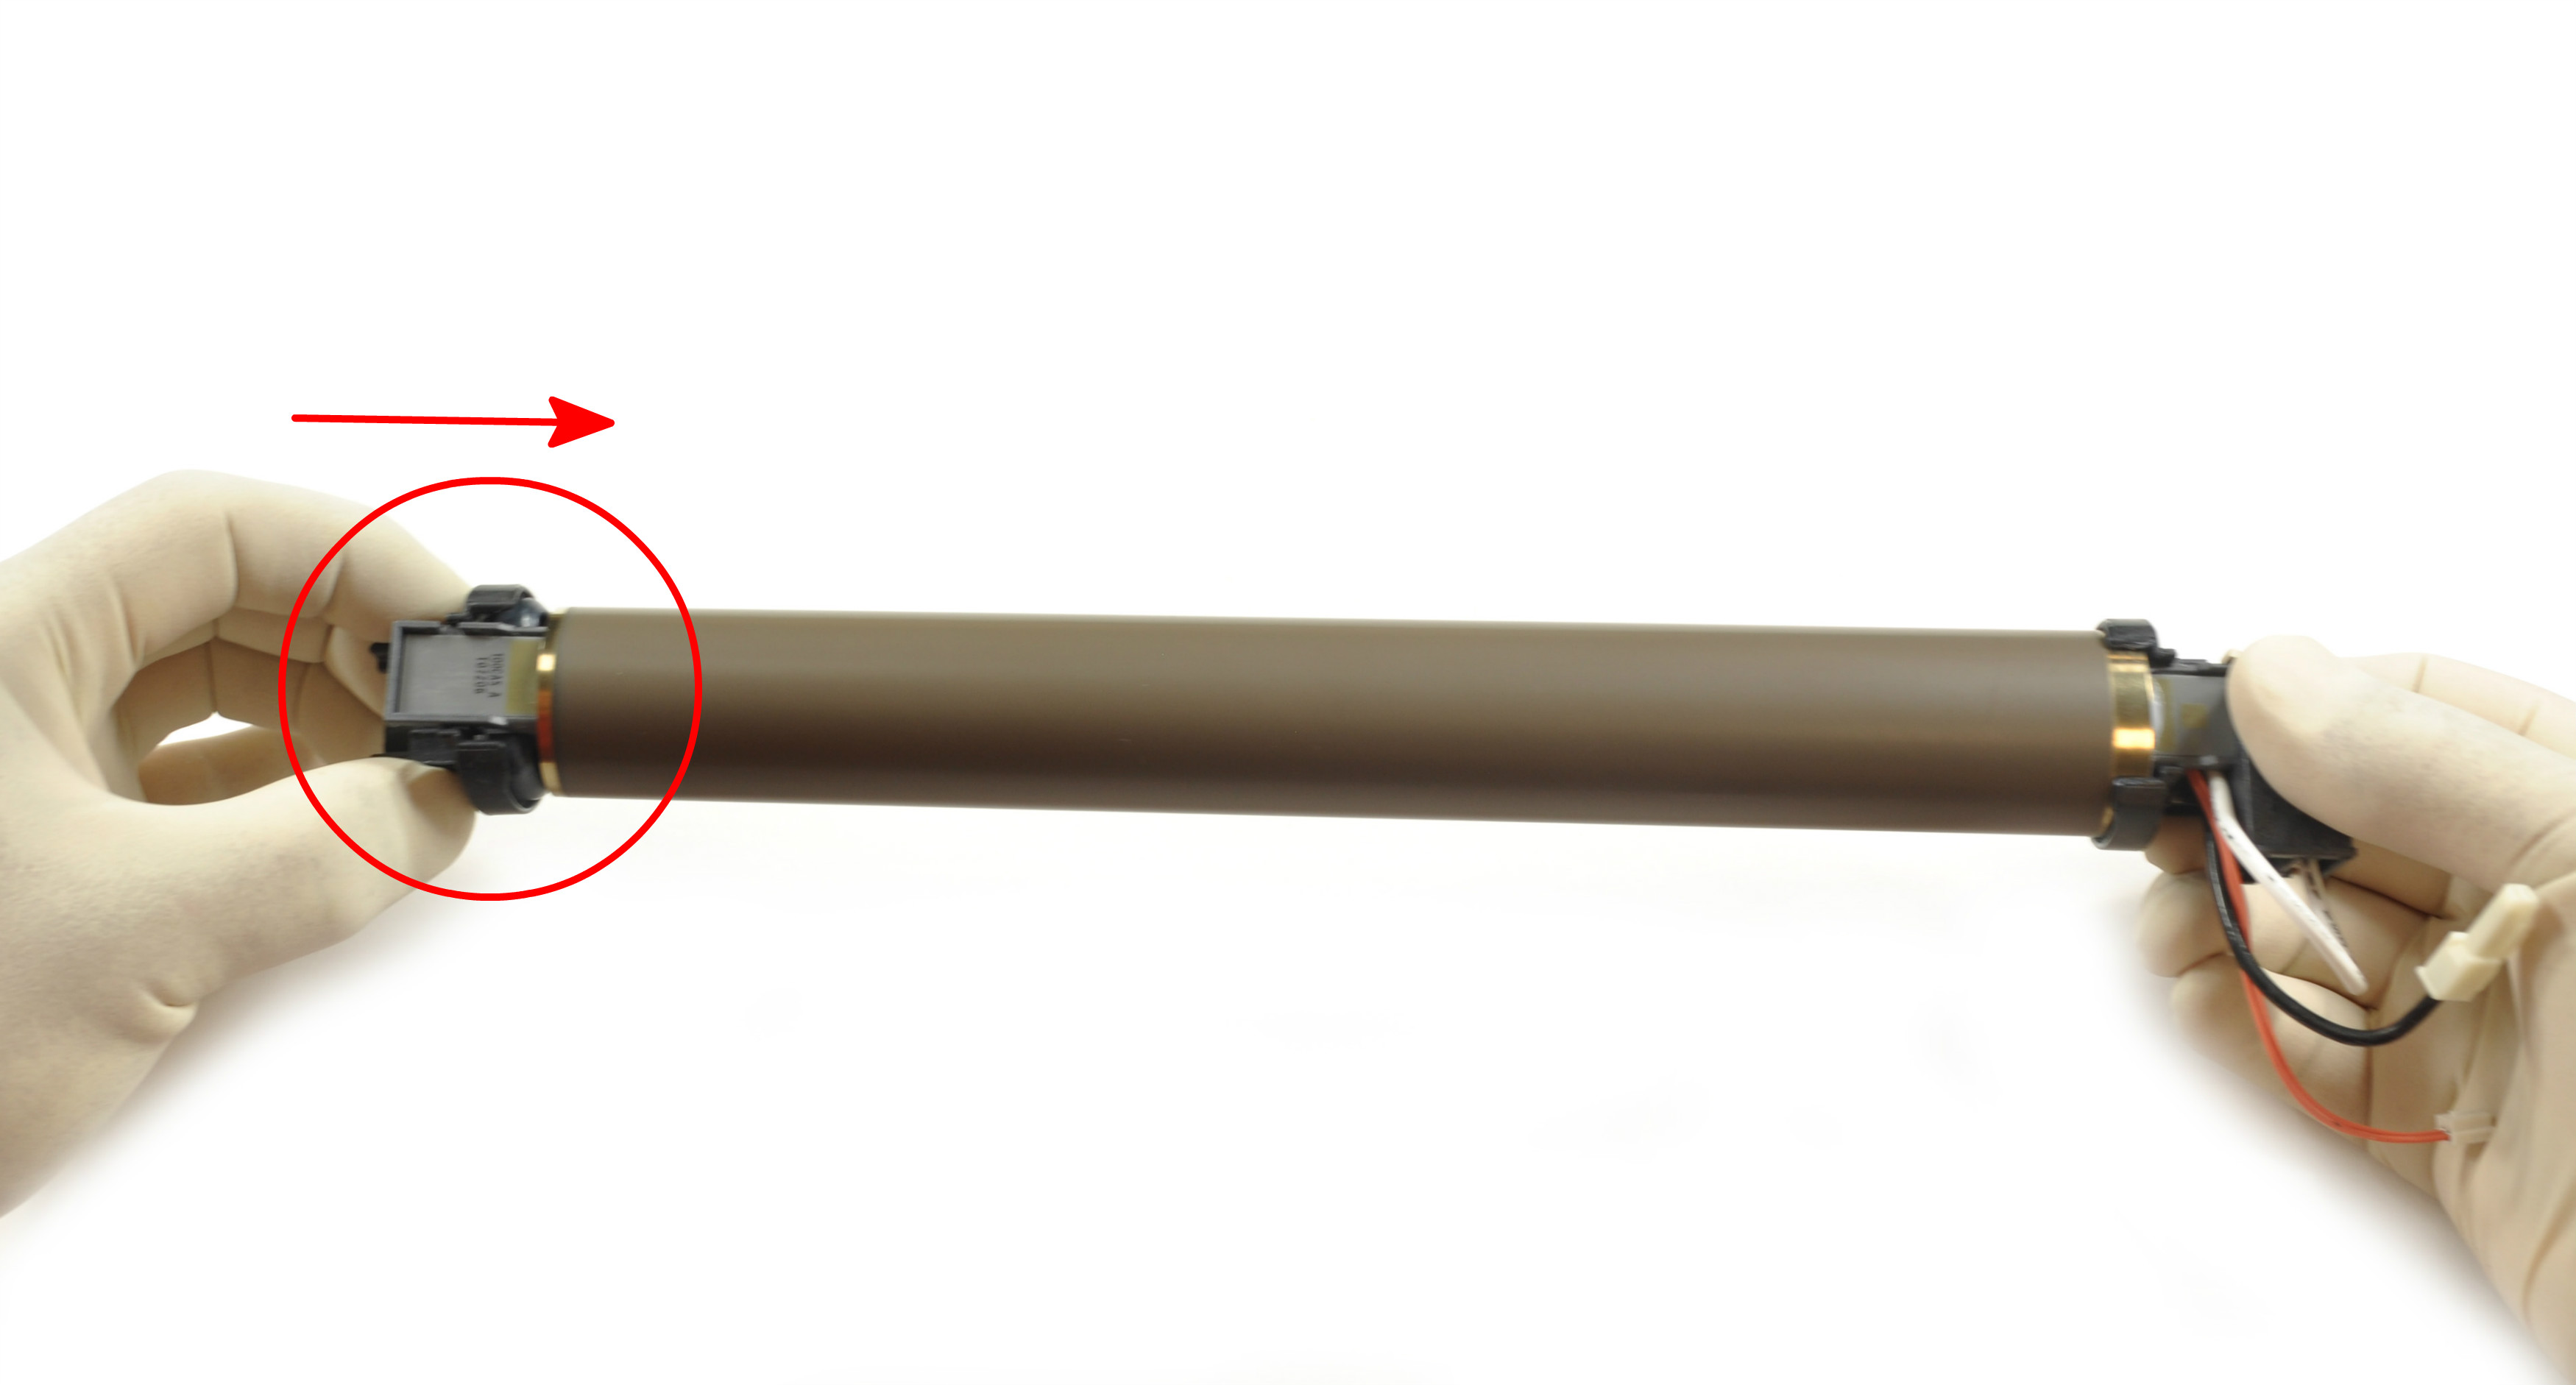
Remove the flange by holding both sides and pulling out.
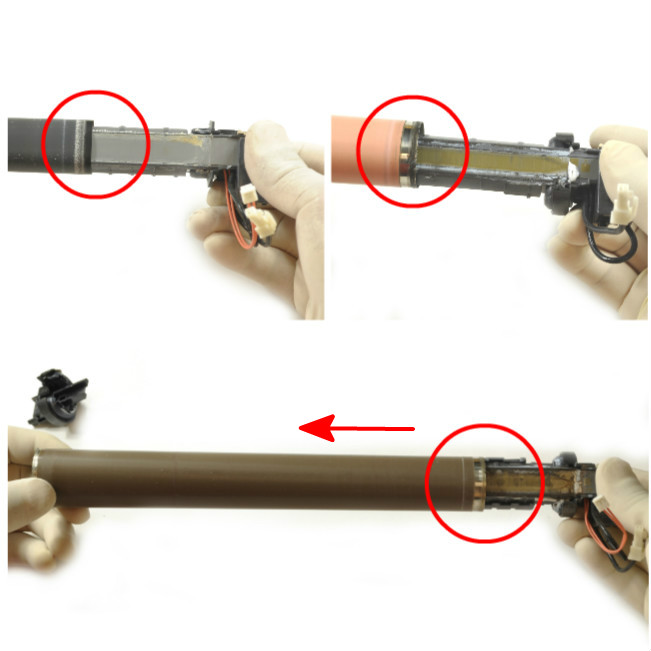
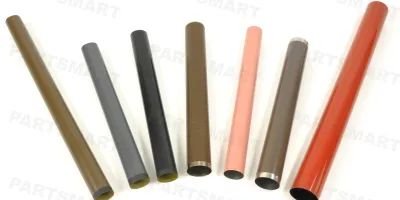
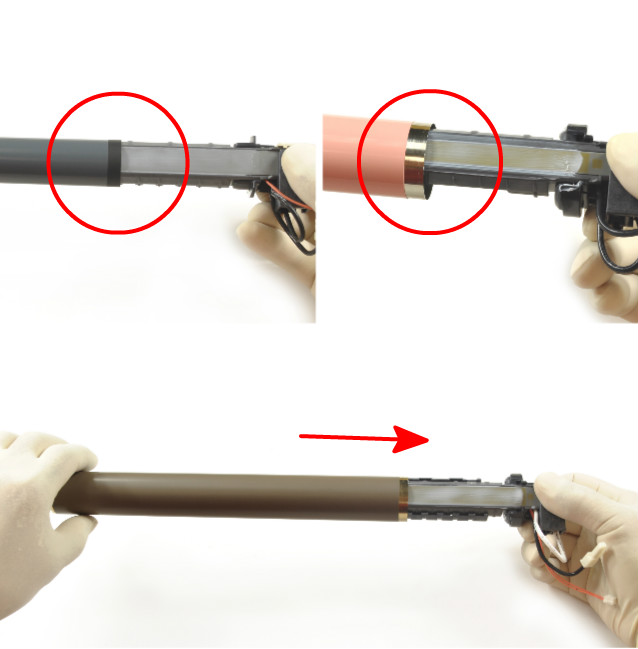
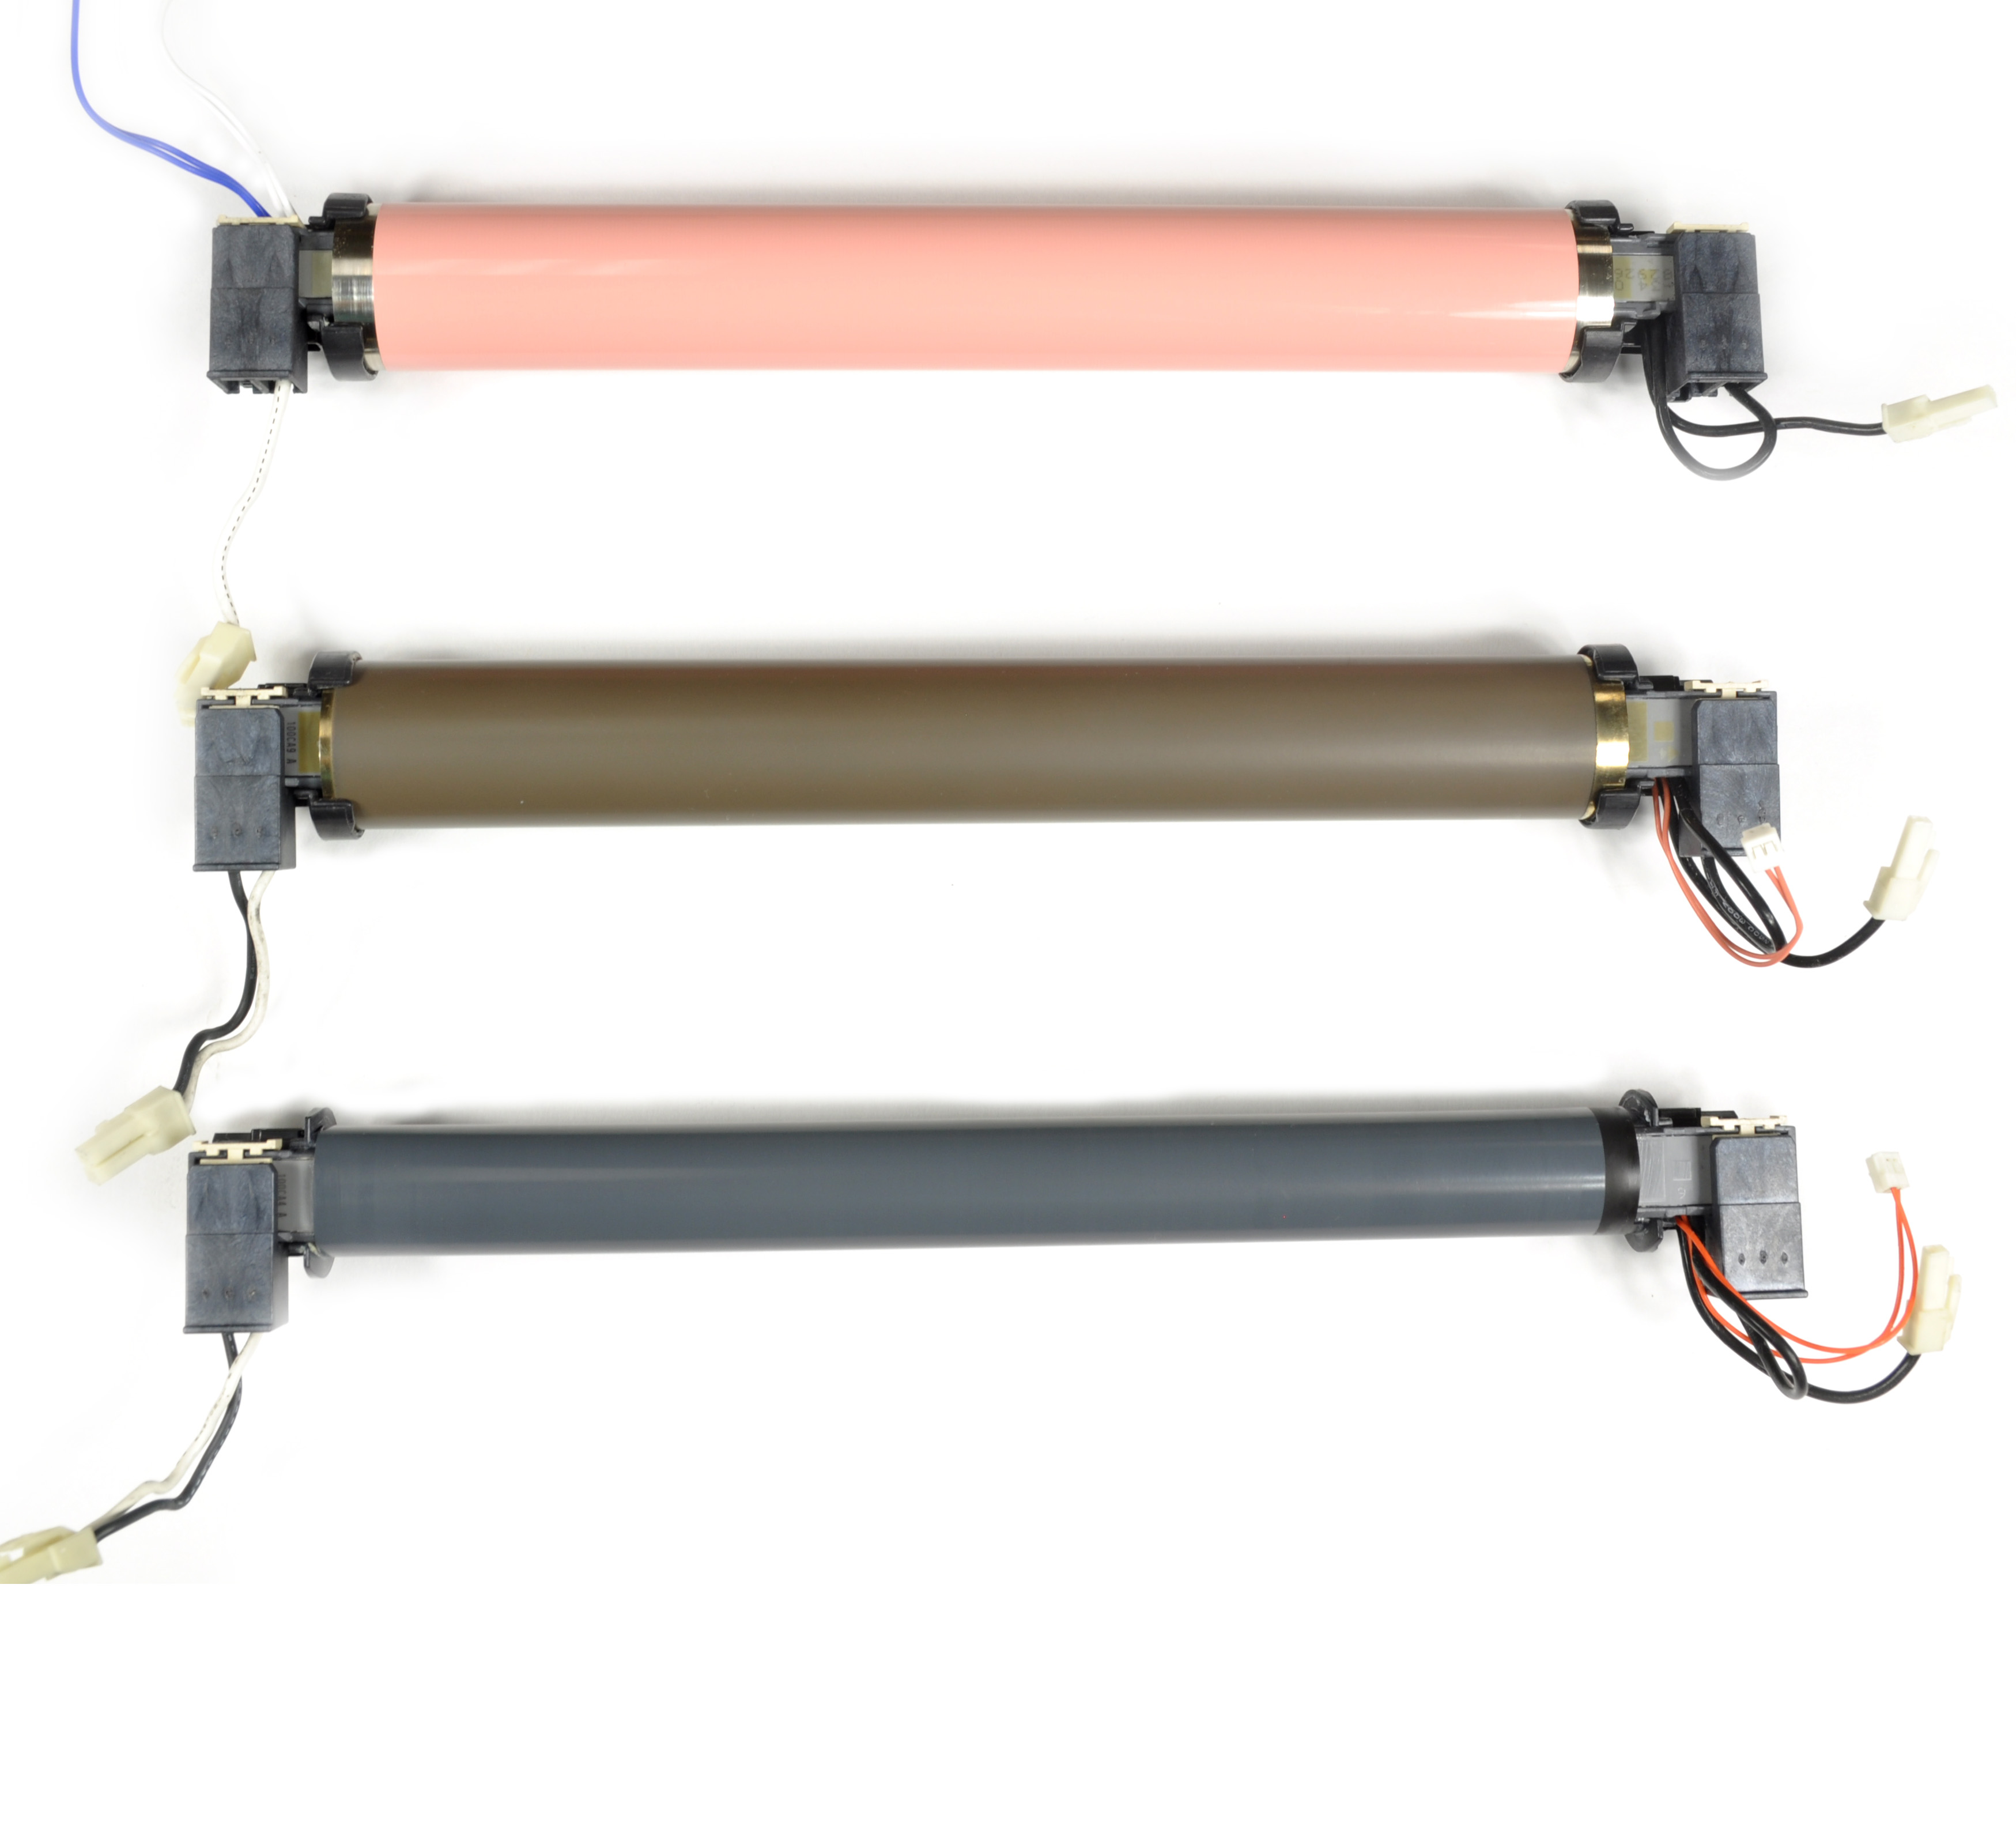
Slide off the fuser film sleeve. Pay attention to the orientation of the grounding ring on one end of the fuser film sleeve. The grounding ring is a circular band ranging from 3-10 mm at one end that functions to conduct the static charges from the sleeve to the ground.
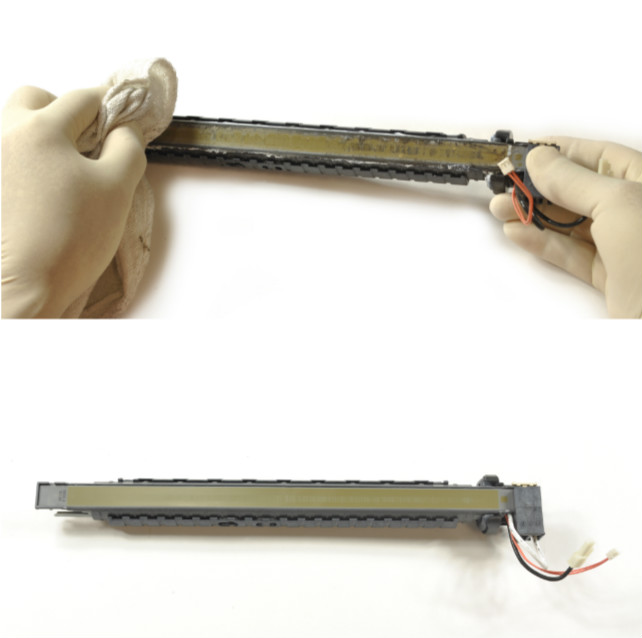
Clean the surface of the heating element and the plastic holder with cloth and alcohol.
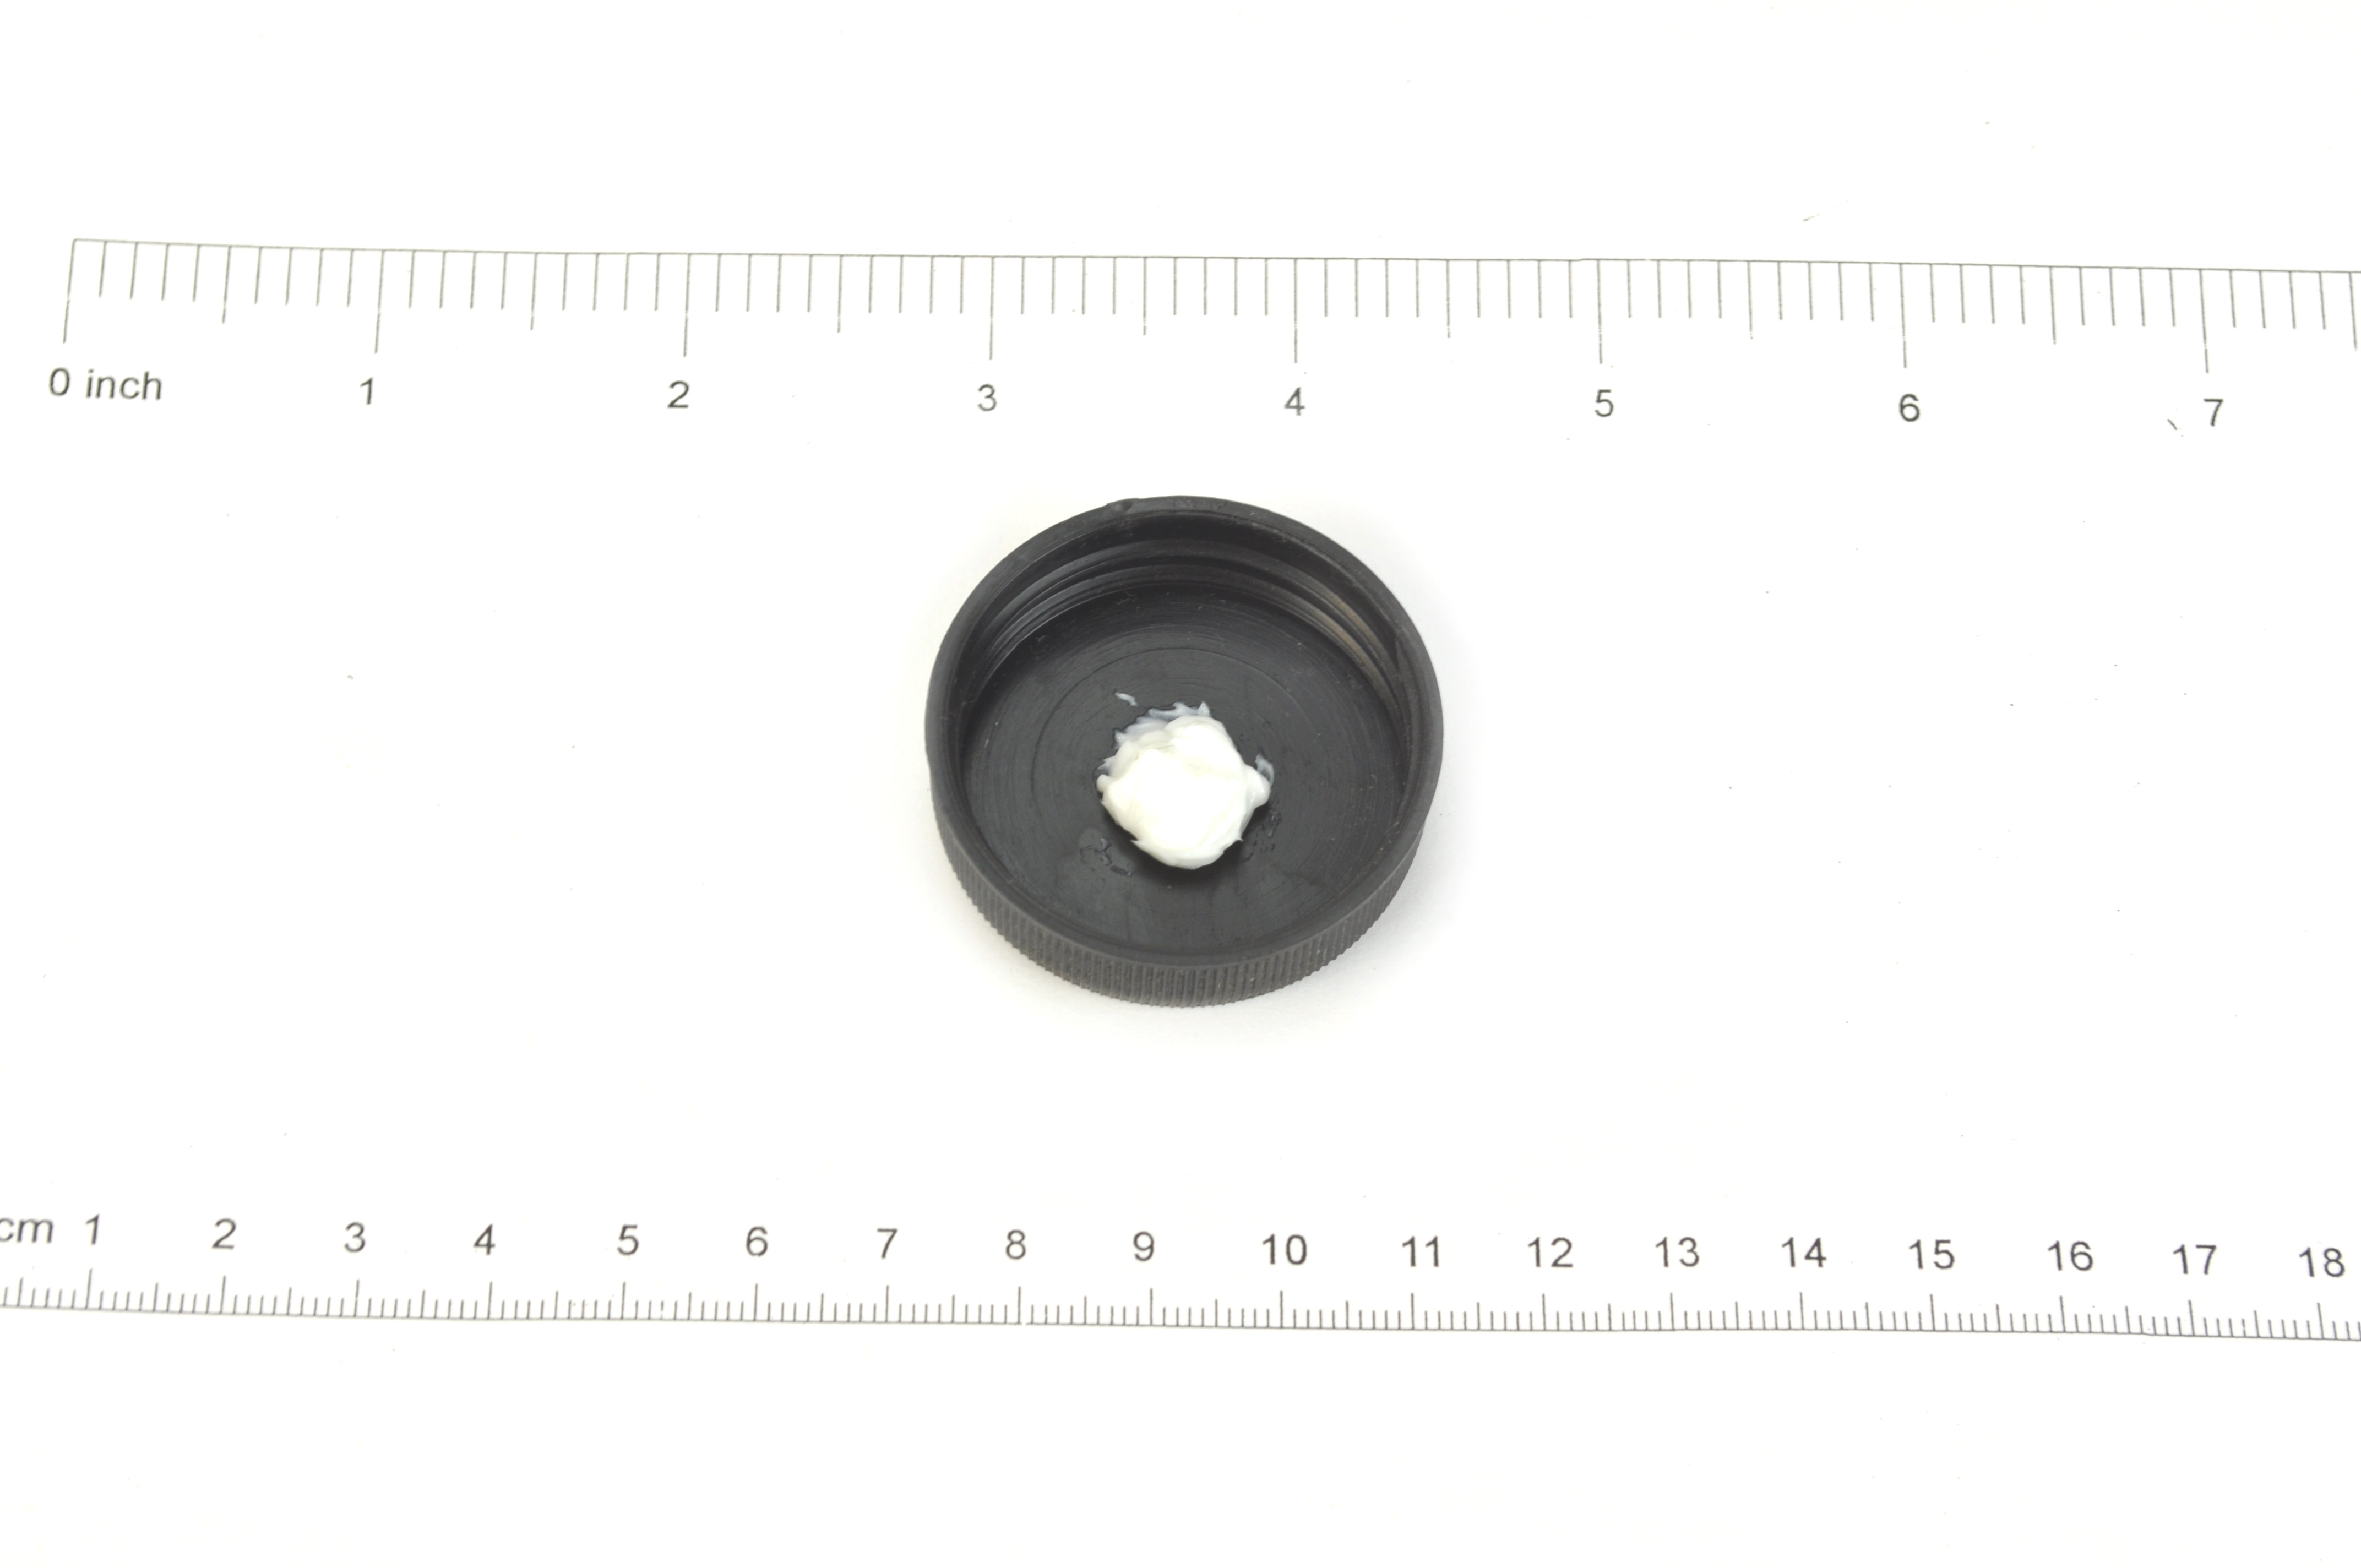
Apply the correct amount of grease. For most sleeves at 220-250 mm long, use approximately 0.5 g. For longer sleeves at 320-340 mm, use approximately 0.7 g. Too little grease may cause the film not turning properly and therefore cause paper jam, whereas too much grease may cause fusing problems or the grease may leak out to contaminate the outside surface of the film.
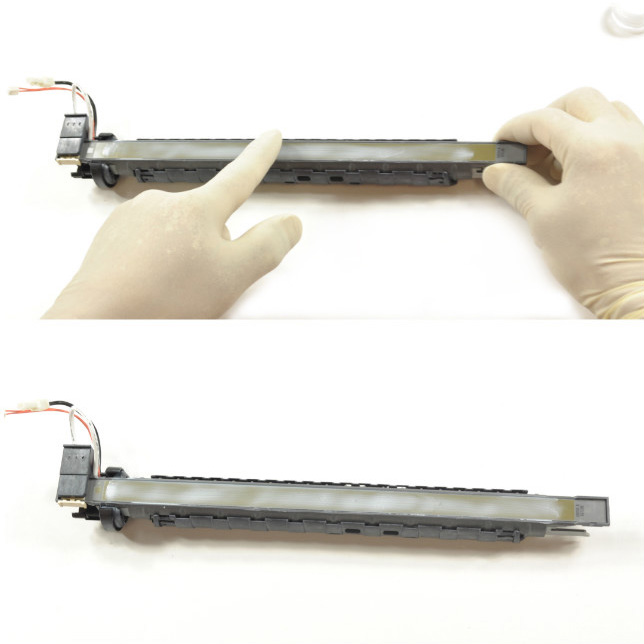
Use a wooden spatula to apply and spread the grease evenly on the surface of the heating element. Alternately, you may use your hand with glove to spread the grease. Change gloves after applying grease by hand. Make sure no grease is applied to the outside surface of the film sleeve.
Slide the new film sleeve into the heater. Make sure the grounding ring is in the same orientation as the old film sleeve. The ground ring should be in good contact with the conductive rubber gear of the pressure roller or the conductive brush of the grounding plate after installation.
Install the flange by pushing in.
Install the plastic clip and clamp to complete.
Now you are ready to use!